A balloon arch is a standout decoration for weddings, birthdays, and special events. Adding balloons to an arch with a fabric cover creates a sleek, polished look while protecting the structure underneath. Whether you’re working with latex, foil, or custom-shaped balloons, securing them properly ensures a long-lasting and visually appealing display. Follow these steps to attach balloons to a covered arch with ease.


Materials Needed
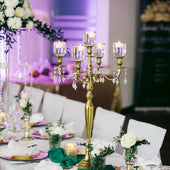
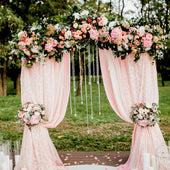
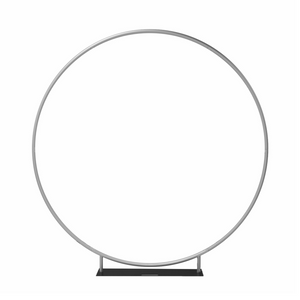
- Balloon arch frame: A sturdy base like a wedding arch backdrop stand provides reliable support.
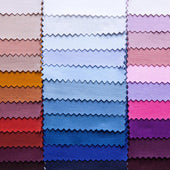
- Arch cover: Stretchable or fitted covers, such as those from the arch backdrop covers collection, help create a smooth background.
- Balloons: Choose a mix of colors and sizes to add dimension.
- Balloon tape or fishing line: Keeps balloons securely attached to the frame.
- Glue dots or low-temperature glue gun: Works well for securing balloons to the fabric without damage.
- Hand pump or electric pump: Helps inflate balloons quickly.
- Command hooks or zip ties: Provides extra stability, especially for outdoor setups.
Step 1: Prepare the Arch and Cover
Set up the arch stand and ensure it is securely positioned. Slide the fabric cover over the frame, making sure it fits smoothly without wrinkles or loose areas. A tight fit helps balloons adhere better and keeps the structure looking clean.
Step 2: Inflate and Organize Balloons
Blow up the balloons in a variety of sizes to create a dynamic arrangement. Using different sizes adds depth and texture to the display. Tie off each balloon securely to prevent air loss.
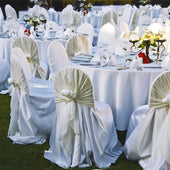
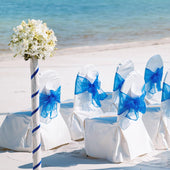
Tip: If matching your balloon arch to the rest of the decor, consider using universal chair covers for a coordinated event setup.
Step 3: Attach the Balloons to the Arch
There are multiple ways to attach balloons to a covered arch, depending on the desired look and durability:
Option 1: Balloon Tape
Balloon tape is a clear strip with evenly spaced holes where you can insert tied balloons.
- Attach the balloon tape along the covered arch, following the shape of the frame.
- Insert balloon knots through the holes, alternating sizes for a fuller effect.
Option 2: Fishing Line
For a more flexible design, a fishing line allows for adjustable balloon placement.
- Tie a long piece of fishing line to the arch frame.
- String balloons along the line, securing them with knots or glue dots.
- Wrap the line around the arch to keep the balloons in place.
Option 3: Glue Dots or Low-Temp Glue Gun
If you prefer a more seamless look, glue dots or a low-temperature glue gun work well.
- Apply glue dots or a small amount of glue to the back of each balloon.
- Press the balloon gently onto the fabric cover and hold for a few seconds.
- Repeat, layering balloons as needed to create volume
Step 4: Fill in Gaps and Adjust
Once the main structure is complete, step back and look for empty spaces. Fill in gaps with smaller balloons or use additional glue dots to adjust placement. If balloons shift, reinforce with zip ties or command hooks for extra hold.
Step 5: Final Touches
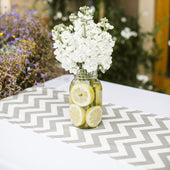
For added style, incorporate greenery, ribbons, or themed decorations. Pairing a well-decorated balloon arch with event linens and coordinating decor, such as balloon supplies, ensures a cohesive look for any occasion.
Attaching balloons to an arch with a cover is a straightforward process that results in a professional and eye-catching display. Using the right tools, such as balloon tape, fishing line, or glue dots, ensures the balloons stay secure throughout the event. With a sturdy backdrop stand and a properly fitted cover, you can create a picture-perfect balloon setup that lasts.
Our Products


Wedding Arch Backdrop Stands
Balloon Supplies
Flower Walls