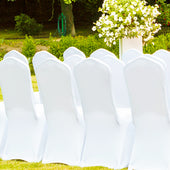
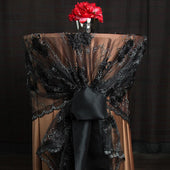
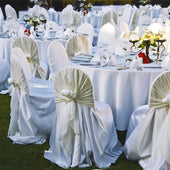
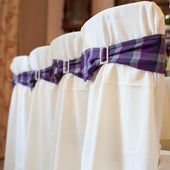
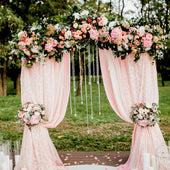
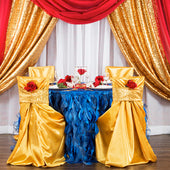
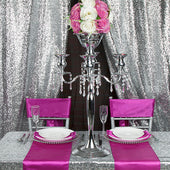
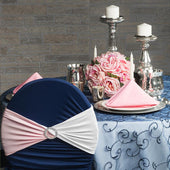
Adding a buckle to a chair sash is a simple way to elevate your event decor, giving your setup a polished and elegant look. Whether you’re preparing for a wedding, banquet, or formal gathering, a well-styled chair sash enhances the ambiance of the space. Follow this step-by-step guide to ensure a seamless and professional finish.
Materials Needed
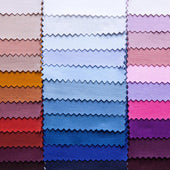
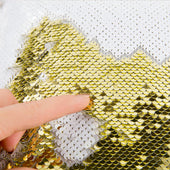
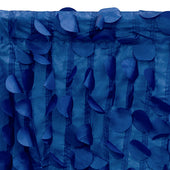
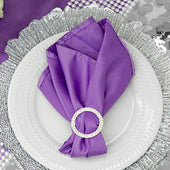
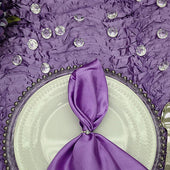
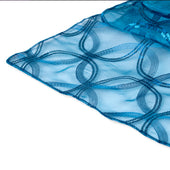
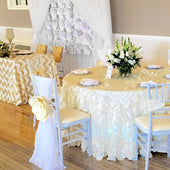
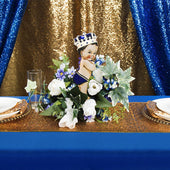
- Chair sash: Available in materials like satin, organza, spandex, or polyester.
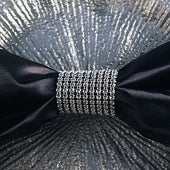
- Buckle slider: A decorative accent that holds the sash in place.
- Chair cover or chair cap: Adding a chair cap can create a more structured and polished look.
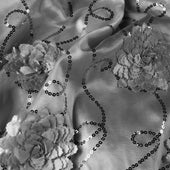
- Optional accessories: Additional elements like rhinestones or floral embellishments can enhance the final design.


Step 1: Prepare the Chair Sash
Start by laying the chair sash flat and smoothing out any wrinkles. If the fabric is delicate, such as satin or organza, lightly ironing or steaming it beforehand will help create a crisp, polished appearance. If a thinner style is preferred, fold the sash lengthwise before continuing.
Step 2: Thread the Sash Through the Buckle
Take both ends of the chair sash and slide them through the center of the buckle. Adjust the fabric to lay flat and distribute evenly across the width of the buckle. For thicker materials like polyester, smooth out any folds as you pull the sash through to prevent bulkiness.
Tip: If you’re layering the sash over a stretchable band, a sleek option from the chair bands collection can help secure it in place while adding an extra dimension.
Step 3: Position the Sash on the Chair
Wrap the sash around the chair and adjust the buckle so that it sits at the center of the chair's back. Pull both ends snugly to ensure a secure fit, but avoid over-tightening, as this can cause wrinkles or fabric bunching. If the sash is too long, tuck the excess fabric neatly behind the chair.
Step 4: Secure and Adjust
Once the buckle is positioned correctly, smooth out any creases and fluff the fabric as needed to maintain an even, symmetrical look. If the sash has long tails, let them drape elegantly or tuck them behind the chair for a sleeker appearance.
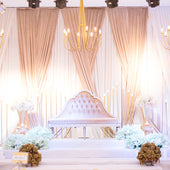
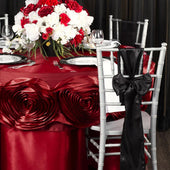
Step 5: Style with Complementary Decor
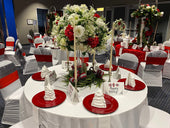
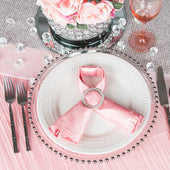
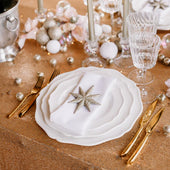
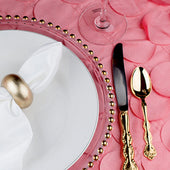
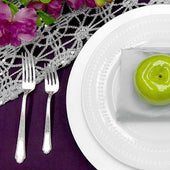
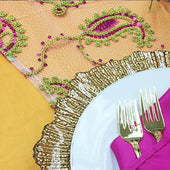
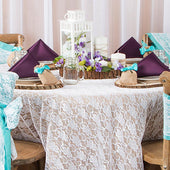
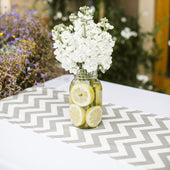
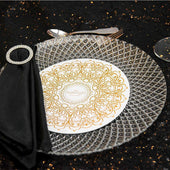
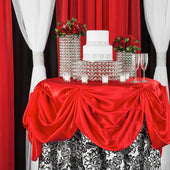
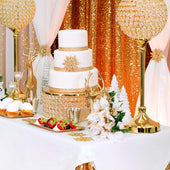
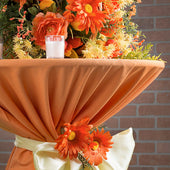
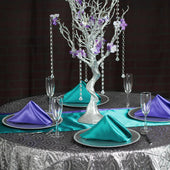
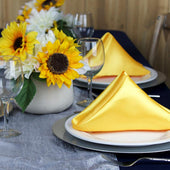
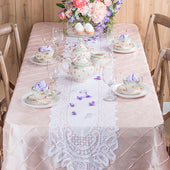
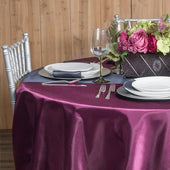
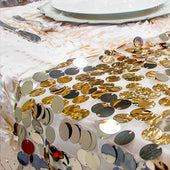
A well-styled chair sash pairs beautifully with other decor elements. For a cohesive event setup, consider matching your chair sashes with coordinating table settings. Using polyester tablecloths can create a polished foundation, while elegant charger plates complete the overall tablescape.
Step 6: Final Touches
Before finalizing the setup, step back and inspect each chair. Ensure that all buckles are aligned and that the sashes are evenly styled across all chairs. A quick fabric refresher mist can keep the sashes looking fresh and wrinkle-free throughout the event.
Adding a buckle to a chair sash is a small yet impactful detail that can elevate the look of any event. Whether you’re using a simple satin sash or layering textures, following these steps will ensure a beautiful finish.
Our Products


Chair Sashes
Sash Clips & Buckles
Chair Bands