A beautifully styled dessert table is often the showstopper at any event. It’s more than just sweets on display. A thoughtfully planned dessert table set up brings together your event’s theme, colors, and personality, creating a space that delights both the eyes and the taste buds.
Whether you’re planning a wedding, birthday party, baby shower, or any special celebration, dessert tables can transform your venue and add that extra wow factor. With just a few key styling tips, you can take your dessert display from basic to breathtaking.

Start with a Plan for Your Dessert Table Set Up
Before diving into the design, take a moment to map out your dessert table layout.


1. Pick a Spot
Choose a well-lit, easily accessible area. Make sure there’s enough room for guests to browse and serve themselves without crowding.
2. Define a Theme or Look
Match your dessert table decor ideas with your event’s overall style. Whether it’s rustic, modern, floral, or whimsical, keeping things consistent will make the setup more visually appealing.
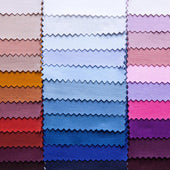
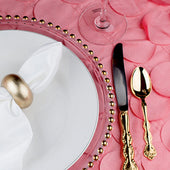
3. Choose a Color Palette
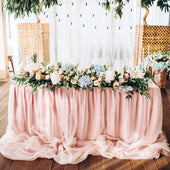
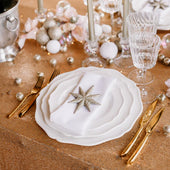
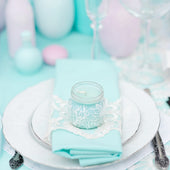
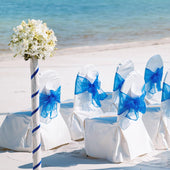
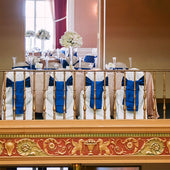
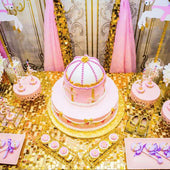
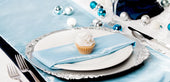
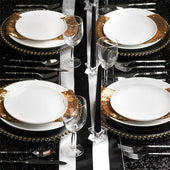
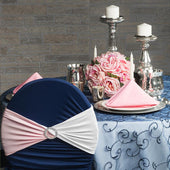
Pick 2 to 3 main colors and use them for linens, signage, backdrop accents, and treat details. For example, blush pink and gold or pastel blue and white are popular combos for spring and summer events.
How to Set Up a Dessert Table
Once you’ve locked in your theme and colors, you can begin assembling your dessert table setup. Here’s a simple step-by-step guide to get you started.
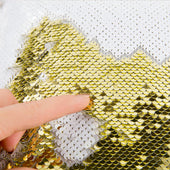
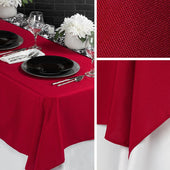
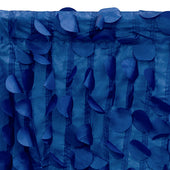
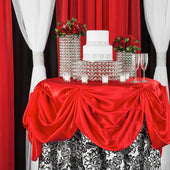
1. Build Your Base with Linens
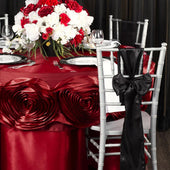
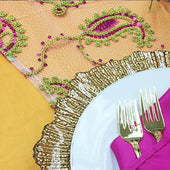
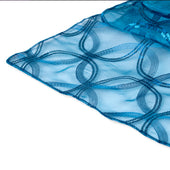
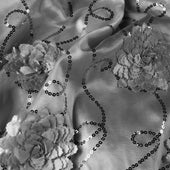
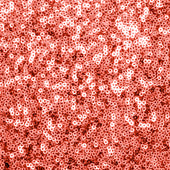
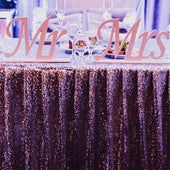
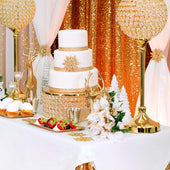
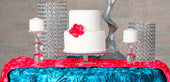
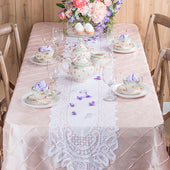
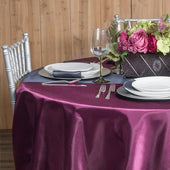
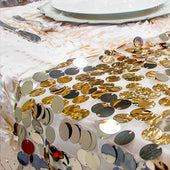
Start with a clean, crisp tablecloth as your base. Choose a fabric that matches your theme and adds visual weight to your table. For extra texture, layer it with a sequin overlay or a sheer runner. These additions create depth and define the space for your display.
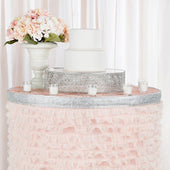
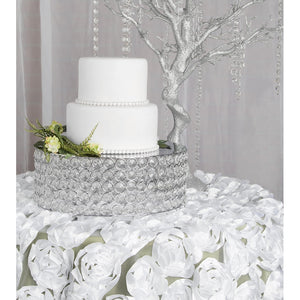
2. Add Height and Levels
One of the most important elements of a great dessert table is visual variety. Use cake stands, risers, crates, or stacked boxes to create different heights. This helps showcase desserts individually and prevents everything from blending together.
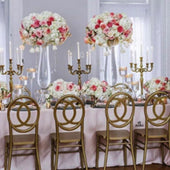
Use taller items like cakes or floral centerpieces at the back, and place shorter treats like cookies or cupcakes near the front. This layout keeps everything within view and easy to reach.
3. Arrange the Treats Thoughtfully
Group similar desserts together for a clean and organized look. Keep a balanced layout, so one side of the table doesn’t feel too heavy or cluttered. Symmetry works well, but asymmetrical layouts can also look modern and fun.
If you’re working with a small variety of sweets, consider repeating items to make the display look fuller. Mini dessert cups, jars of candy, and decorated sugar cookies can all add color and structure to your spread.
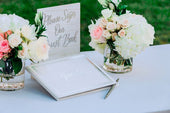
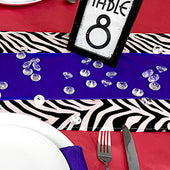
4. Include Signage and Labels
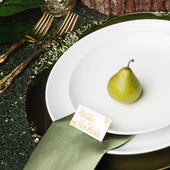
Label each dessert with simple cards or signs. This helps guests know what they’re grabbing, especially if you’re including gluten-free, dairy-free, or allergy-sensitive treats. You can print these labels yourself or use mini chalkboards for a charming touch.
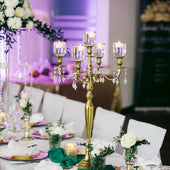
5. Add Decorative Elements
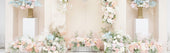
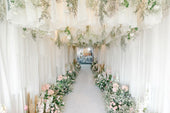
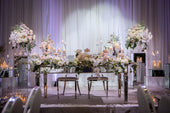
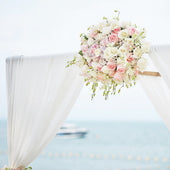
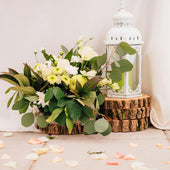
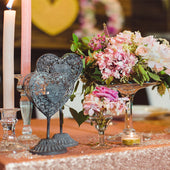
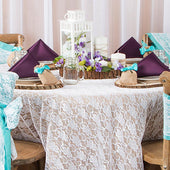
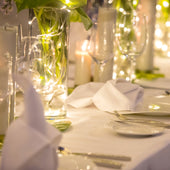
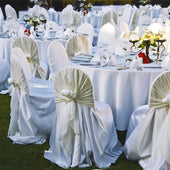
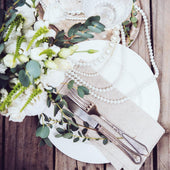
Finish off your dessert table with decor that ties into your theme. Use garlands, candles, or balloons to frame the table. Add floral arrangements or greenery for a natural feel. Just make sure your decorations don’t get in the way of serving the sweets.
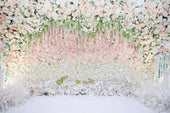
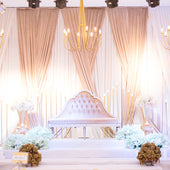
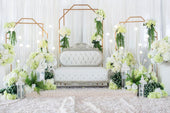
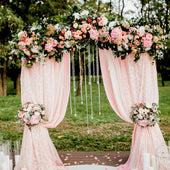
If your table will be against a wall, consider using a DIY backdrop made from fabric rolls. A styled background draws attention and turns your dessert table into a photo-worthy feature.
Creative Dessert Table Decor Ideas
Need more inspiration? Here are a few dessert table ideas that work for a wide variety of events:
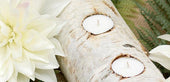
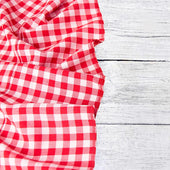
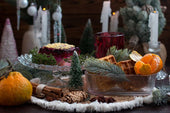
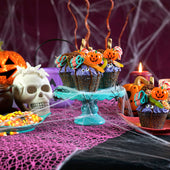
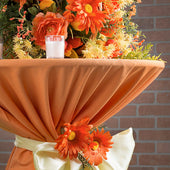
- Seasonal Style: Use seasonal fruits, florals, and colors. For spring, think soft pastels and fresh blooms. Fall dessert tables can feature pumpkins, leaves, or wood textures.
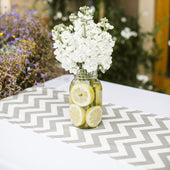
- Single-Tier Display: If space is limited, use one long tray or board with a mix of treats in rows. Add votive candles and sprigs of greenery to keep it pretty but compact.
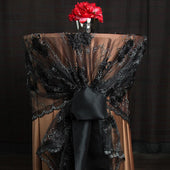
- Themed Props: For kids’ parties, baby showers, or themed weddings, consider adding playful decor items like toy blocks, stuffed animals, or banners with the guest of honor’s name.
Looking for more inspiration? Check out our full guide on creating a dessert table that your guests will love.
Final Tips for a Picture-Perfect Dessert Table
- Make sure your table is easy to access from the front. If guests will be serving themselves, space the items out enough so they aren’t bumping into each other.
- Don’t overcrowd the table. Leave enough space between stands and platters so every treat gets the spotlight it deserves.
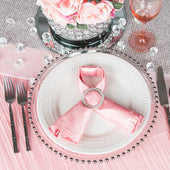
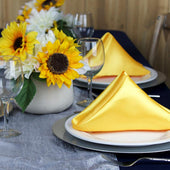
- Include napkins, tongs, or mini plates nearby to keep things neat. If you need color-matching linens, explore our collection of napkins.
- Refill as needed. If your event will run for hours, plan to have someone restock items or freshen the table halfway through.
Dessert tables are a fun, customizable part of any celebration. With the right mix of color, layout, and decor, you can create a space that’s as sweet to look at as it is to enjoy.
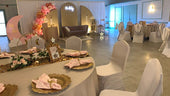
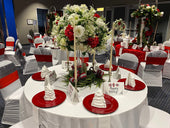
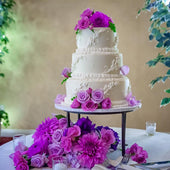
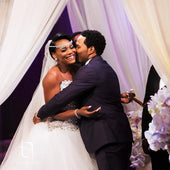
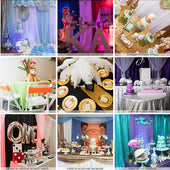
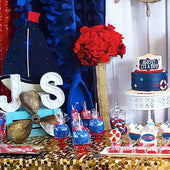
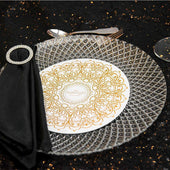
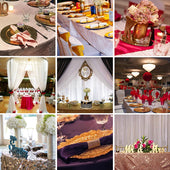
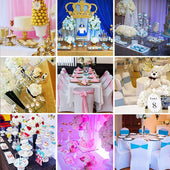
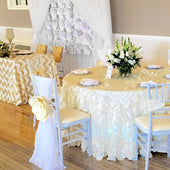
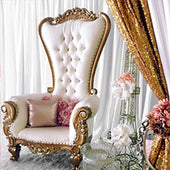
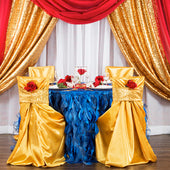
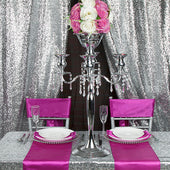
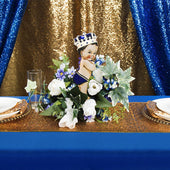
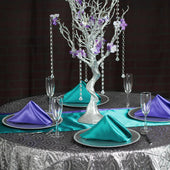
Here are a few recent CV Customer Creations to take some inspiration from:


The post Quick Tips on How to Create a Stunning Dessert Table appeared first on CV Linens Design Blog.